Sunday, 27 November 2011

Marinated feta

I have been experimenting again, and wanted to share the results.


I have feta in my lunchtime salad every day. I usually just have normal feta, nothing special - usually whatever is on special when I'm at the supermarket. I love feta, but I find that sometimes I can't use it all before it goes off. There is nothing worse in my opinion, than wasting food.

By chance the other day, I had the most delicious marinated feta from the deli section at the supermarket. I didn't want to buy a whole block of feta as I was going away for a couple of days, but I still wanted my feta in my salad (I am absolutely a creature of habit when it comes to my workday breakfast and lunch). I spotted the feta in the deli section and decided to give it a go.

Oh my goodness it was delicious!!!

So, I decided to find out if I could recreate this myself. Turns out you can!

I just took my standard feta, chopped it up into chunky bits and jammed it into a jar. Around the feta I layered rosemary, thyme and dried chilli as well as peppercorns. I considered putting some sun-dried tomato in, but decided I had enough flavours. Might try that next time.

If stored in the fridge, the feta should last for at least a month. But, I have no doubt you will have eaten it all before then!

One thing to note if you decide to give this a go - raw garlic is a no-go. Same if you decide to make any kind of flavoured oil. Raw garlic can lead to botulism. There are a number of sites warning of the risk of storing raw garlic in oil. So, best to avoid. I have successfully used dried garlic before to give a lovely garlic tang (Wellingtonians - you can buy this from Moore Wilsons).

Friday, 21 October 2011

Just some of my cupcakes

I experimented with cupcake decorating the other day, so thought I would share them on here.

Firstly, chocolate ganache, a star and glitter. This is probably my favourite.


Chocolate buttercream and some silver sparkly balls.


Red buttercream swirl.


A selection of chocolate buttercream with hand-made decorations.


Coconut and a heart.


Red with a decoration.


Monday, 17 October 2011

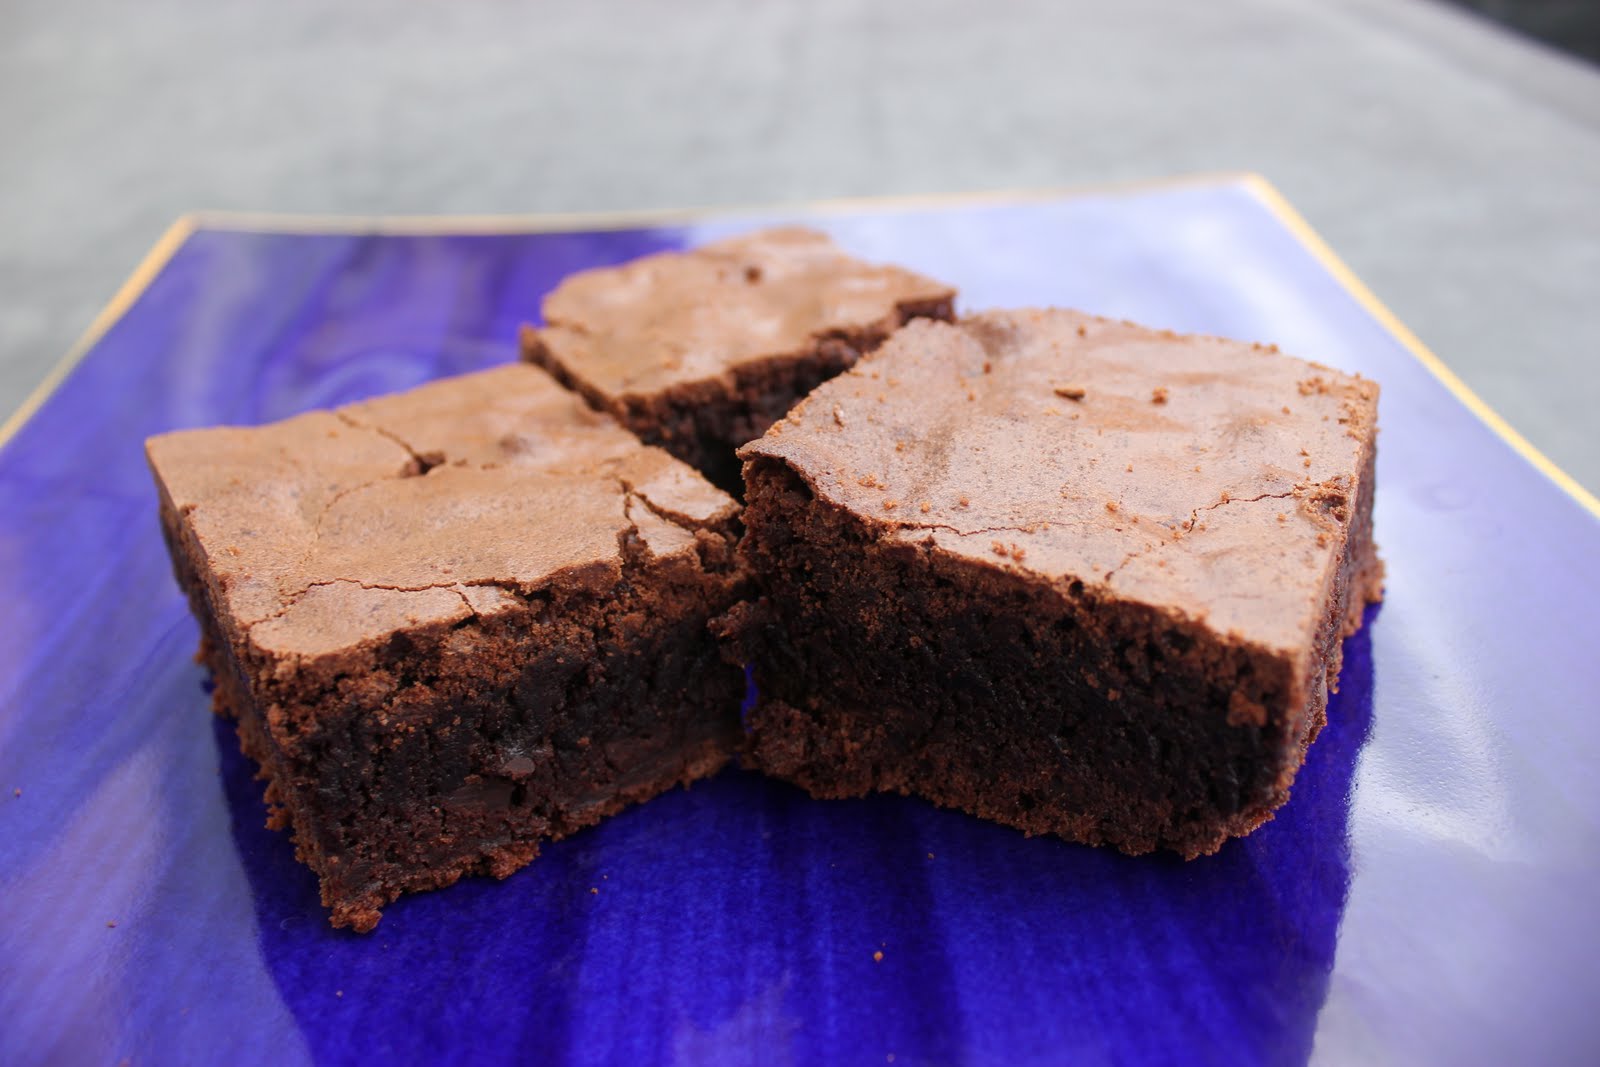
Chilli chocolate brownie

It's chocolate challenge time again, thanks to Chocolate Teapot and We Should Cocoa .

This month's challenge was chill.


I have the best recipe for chocolate brownie, and decided this was the perfect time to experiment with it a bit. I'm not sure of the origin of this recipe, it came to me from a friend and a workmate give it to her. It makes an enormous amount of brownie, so unless you have a small army to feed, I would recommend halving it.

330g butter
1 1/4 cups cocoa
1/2 tsp vanilla
2/3 tsp baking powder
2 cups chopped chocolate or chocolate chips
3 1/2 cups sugar
7 eggs (use 4 if halving it)
1 1/4 cups flour
1/4 tsp salt

Melt butter. Pour in cocoa and mix to combine. Add sugar, eggs and vanilla. Mix on high speed until the colour lightens (approx 5 mins). Add flour, baking powder, salt and chocolate chips and mix until just combined. Pour into a large, lined baking dish and bake for one hour and 10 mins at 160 degrees celsius.


To make the chilli brownie, I added about a heaped teaspoon of chilli. I made it a bit hotter than I thought it should be, as I thought the heat would bake out slightly once cooked. Turns out it didn't! But, I actually thought it was pretty good.

It received mixed reviews at work, from "awesome" and "delicious" to "Carina, I love your baking, but that was terrible". Turns out he is not a fan of chilli. I did warn everyone! If you're not a fan of chilli, I would still recommend making this brownie, as it's so tasty.


Sunday, 16 October 2011

The best carrot cake ever

I am going to share a secret with you. It's a pretty big secret, but it's so good, is should be shared.

My Mum makes the best-ever carrot cake. It's so good, it's world famous in Whangarei. Whenever I go home, this cake is on the top of my list (even though I can make it myself, my Mum makes it so much better).

So, I'll share it with you.

1 cup wholemeal flour
2 cups raw sugar
1 cup oil (a flavourless oil is best, not olive oil, it's too strong)
1 cup plain flour
4 eggs beaten
2 tsp baking soda
2 tsp cinnamon
3 cups grated carrot

Icing
4oz room-temperature cream cheese (about half a tub)
1 tsp vanilla essence
2 cups sifted icing sugar
2 oz soft butter
Lemon juice

Preheat oven to 180 degrees celsius and grease and line a 10 inch cake tin. (This makes a pretty big cake).

Sift and mix dry ingredients. Add oil and stir well. Stir in beaten eggs and carrot and mix well. Pour into tins.

Bake for about an hour, until a skewer comes out clean.

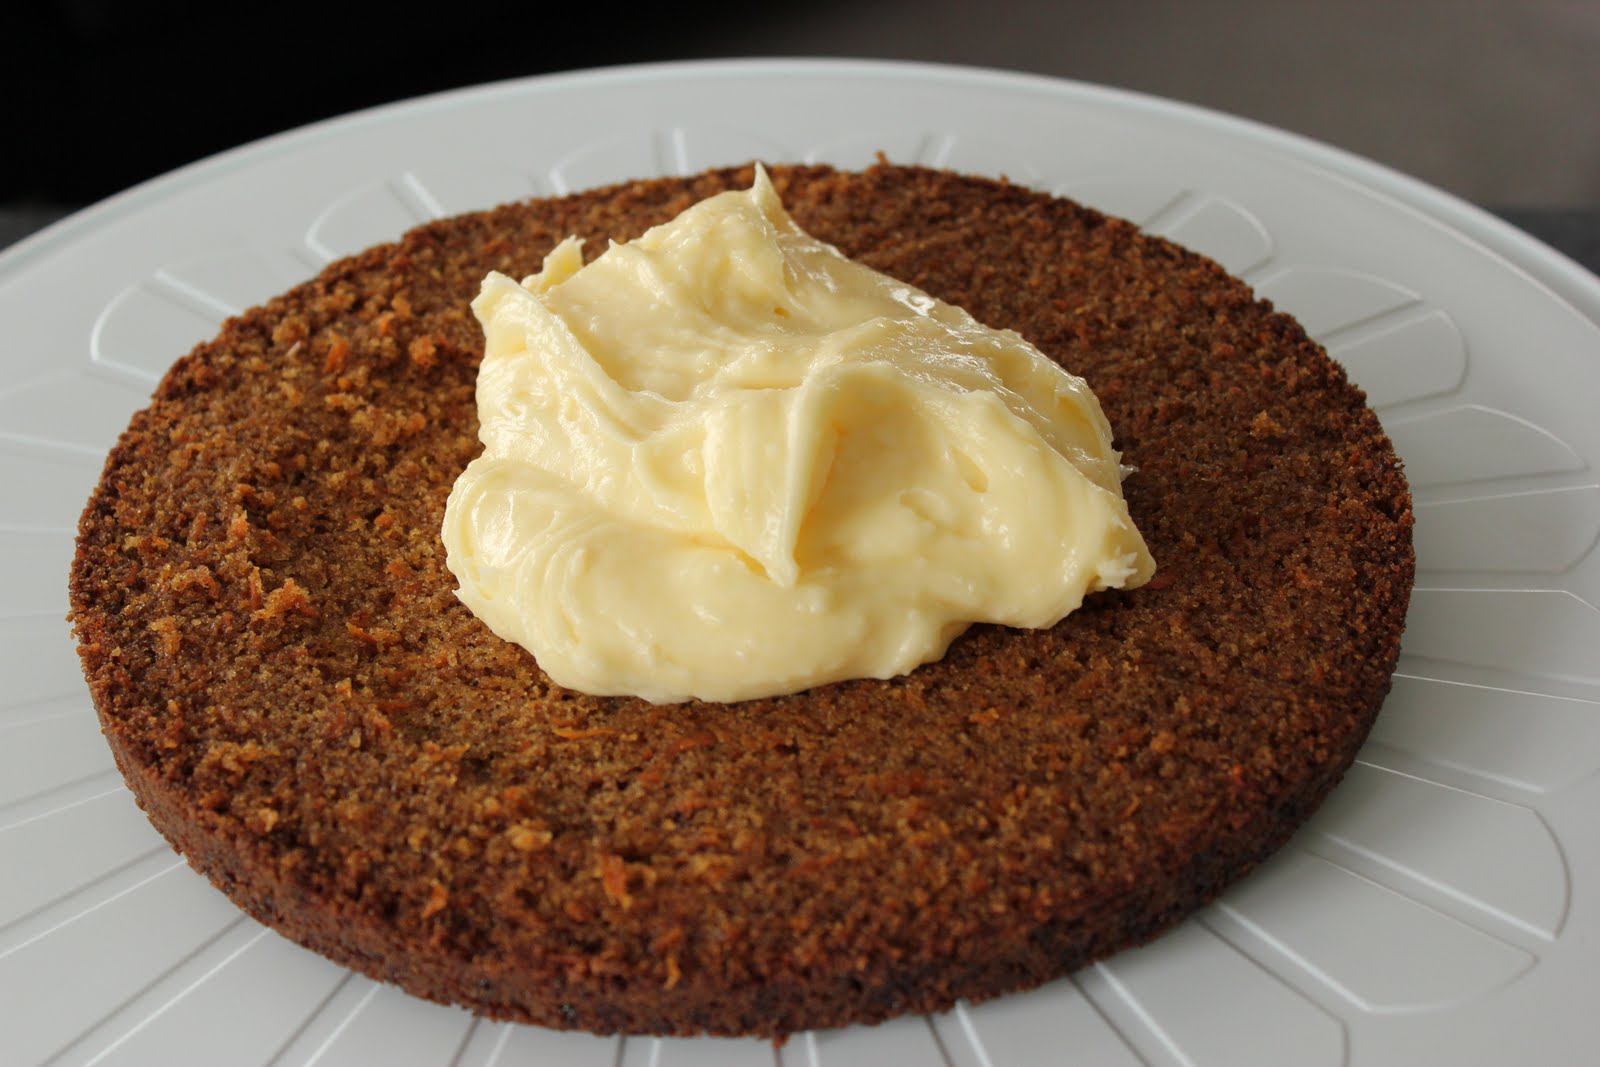
For the icing, beat the cream cheese and butter together with a wooden spoon until well combined. Gradually add the sifted icing sugar, vanilla and continue to beat. Add lemon juice to taste. (I like a really tangy icing). If you add a lot of lemon juice, you may need to add more icing sugar.


I split my cake and put some icing in the middle of the cake.


I also iced the entire cake. I really love this icing!


Tuesday, 11 October 2011

Green pancakes with lime butter

On the recommendation of two workmates, I made a delicious dinner last night that I just had to share. I have discovered the most delightful chef - Yotam Ottolenghi. His cookbook, Plenty, is beautiful, just gorgeous. He also writes a regular column for the Guardian


I made the pancakes for dinner last night and served them with haloumi. Yum. I only made about 1/4 of the butter, as 100g would have been way too much. I used lemon instead of lime, as I didn't have any limes. Lemon was pretty tasty. The butter and pancakes are a little time consuming to prepare, but cooking is super quick.


For the lime butter
100g unsalted butter, at room temperature
Zest 1 lime plus 2 tbsp lime juice
½ tsp salt
½ tsp white pepper
1 tbsp coriander leaves, picked
½ garlic clove, finely chopped
½ tsp chilli flakes

For the pancakes
110g self-raising flour
1 tbsp baking powder
1 egg
50g unsalted butter, melted
½ tsp salt
½ tsp ground cumin
150ml milk
10 spring onions, finely sliced
2 green chillies, finely sliced
250g baby spinach
1 egg white
Olive oil, for frying

First, make the lime butter. Put the butter in a medium-sized bowl and beat with a wooden spoon until it turns soft and creamy. Stir in the remaining ingredients. Tip everything out on to a sheet of clingfilm and roll into a sausage shape. Twist the ends to seal, then chill until firm.

For the pancake batter, put the flour, baking powder, egg, butter, salt, cumin and milk in a mixing bowl, and whisk until smooth. Add the onion and chilli to the batter. Put the spinach in a pan with a splash of water, cook until wilted, drain, squeeze dry, then roughly chop and add to the batter. Whisk the egg white to soft peaks and carefully fold it in to the batter.

Pour a little oil into a heavy frying pan and place on medium-high heat. For each pancake, ladle two to three tablespoons of batter into the pan and press down gently. You should get smallish pancakes, about 7cm in diameter and 1cm thick. Cook for a minute on each side, until a nice golden-green colour. Transfer to a paper towel and repeat, adding oil as needed, until all the mixture is used up. Keep the cooked pancakes warm.

To serve, pile up three pancakes per person and place a disc of flavoured butter on top to melt. Serve a flavoursome leaf salad on the side.


I also think mini versions of these would be so perfect for canapes. Perhaps with cream cheese and salmon. Yum.


Saturday, 8 October 2011

Becci's birthday and a pony cake


My friend Becci had a birthday this week and requested a pony cake. She is nuts about horses, is a keen rider and has her own beautiful pony (although the unfortunate fellow does have a girl's name). A standing-up pony was initially requested - a feat I declared out of my scope! Becci persisted, and sent me this link for a pony cake. So, a pony cake it was!

I baked my favourite chocolate cake from Annabel Langbein (see previous post for the recipe) in two round tins. Halfway through making the cakes, I discovered I had run out of flour (and I call myself a baker, tsk tsk!). So, I needed a substitute (it was about 9.00pm, I could not be bothered going out in the dark and cold to get more flour if I could help it). What's the lesson here - always read the recipe through and check you have everything you need before you start! I had wholemeal flour, so decided to give that a go. I think it worked pretty well, the cake had a lot more texture than usual due to the course nature of wholemeal flour, but I think it was slightly more dense than usual, which I liked.

Anyway, the following evening I turned the cakes into a pony using the template above. This is when I discovered my next problem, and decided that I really do need to learn to plan ahead better. I went to put the cut-out shape onto my cake carrier to decorate it, only to discover that it didn't fit! The only thing I could find that it would fit on was my massive roasting tray, and there was no way I was carrying that on the train to work the next morning! The only thing to do was to put the pony on a rapid weight-loss diet.

I trimmed everything up, and made him fit on the carrier. The only downside of this exercise was that I ended up turning the pony into more of a dog. His neck was the main problem - horses have long necks. So, his neck got a reasonably brutal trim, and he lost a bit of his horsey-ness. Not to worry. I iced him with chocolate buttercream and used some black food colouring to create a tail and mane. I think the tail and the mane looked pretty cool, I was really pleased. Pony was supposed to have a blanket. But, I spent such a long time fluffing about with the weight-loss regime, and it got too late to sort out a blanket - it was well past my bed time! I did give him some feet though by mixing some of the darker icing with the lighter to give his feet a bit of a shadow effect.

According to Becci, the cake was yum, so as long as the birthday girl enjoys it, that's the main thing!


Sunday, 11 September 2011

Mel's Birthday Cake plus a chocolate challenge

My little sister had a birthday earlier this month and asked for a cake. Of course, I was happy to oblige. Just before I made the cake, my friend alerted me to something she thought I might like - a blog with a chocolate challenge. Chocolate Teapot and We Should Cocoa are the two blogs that host the monthly challenge. I instantly thought a chocolate challenge sounded like a fantastic idea! I was then stoked to discover that this month's challenge was a chocolate masterpiece fit to celebrate We Should Cocoa's 1st virtual birthday party. Well, I decided to create a fantastic chocolate birthday masterpiece! What better than a spectacular black forest gateau. I started with a chocolate cake recipe from Annabel Langbein. This is seriously such a great recipe - super easy and so tasty. I cooked it in two round cake tins and left them to cool overnight. The next day was assembly time. I split each cake in half, and bought a jar of morello cherries from the supermarket - I was amused to see they originated from Turkey. Anyway, I whipped some cream and started layering. The first layer was cream and cherries, the next cream and shaved chocolate, the next a mixture of cream, cherries and chocolate. Yum. I covered the cake in cream - I did two layers to avoid crumbs as I didn't want any of them messing up my cake! On top, I piped some large swirls of cream around the edge of the cake for a cherry each. I wanted it to look quite spectacular, so I made some chocolate shavings. I did this in a rather rudimentary way - by pouring melted chocolate directly onto my (clean) bench and spreading it out thinly. Once cold (I aided this process by opening the window above the bench - the Wellington winter breeze certainly helped) I scraped the chocolate shavings using a metal bbq slice. A little random, but whatever works! I needed something strong enough to withhold the pressure to create the curls. I also made some chocolate shapes to decorate the cake. I piped the melted chocolate onto baking paper and let it set. I just used creative flair to make the shapes - swirls and lines and sweeps, great fun. I piled the chocolate shavings in the middle of the cake and nestled the shapes around the edge. I also piped Mel to sit in the centre of the cake. Around the edges I covered the cake in more chocolate shavings. The finished result? In my opinion, awesome!! Apparently it went down well with Mel's workmates too :)